|
PROJECTS
for Stampers Season Class
ON
September 2010
|
This Month's Projects
at-a-glance |
|
 |
|
|
 |
|

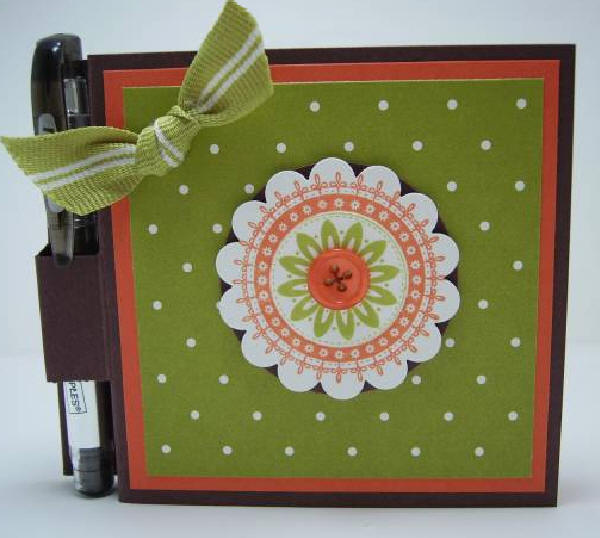
POST-IT-NOTE
COVER-HOLDERS

Click on the picture or the
link below to go to Dawn's video
directions and measurements
for making these!

http://www.youtube.com/profile?user=dawn5377#play/uploads/22/vAsOkubiK0I

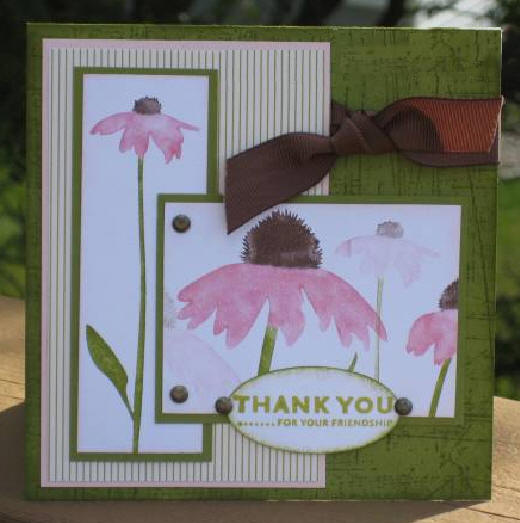
"INSPIRED
BY NATURE"
CARD

http://www.splitcoaststampers.com/gallery/photo/1712955?&si=topnote
I gave
away this card, so I don't have one
to get
the measurements on.
Here is a
page I created for you, with an
(almost)
actual size photo of the card so that
you can
print it out and easily figure
out the
dimensions yourself:
www.HomeschoolOasis.com/InspiredByNatureCardSizing.doc
|
Project
Notes

CARDSTOCKS/PAPERS:
■ Old Olive cardstock (CS)
■ Pretty in Pink CS
■ a striped or diamond
designer paper (DP)
STAMP SET:
■ Flowers: "Inspired
By Nature"
■ Background: "Sanded"
■ Sentiment: I don't
know which one this is, but any sentiment that fits inside
the punch shape you want works!
SUPPLIES:
■ Brads (eyelets would be
pretty, too)
■ 5/8"brown grosgrain (or
satin) ribbon ribbon
■ Dimensionals for raising
up panels

TOOLS:
■ large
(not "wide")
oval punch for the sentiment
■ paper piercing tool and
pad (to punch holes for the brads to go through)
INSTRUCTIONS:
The Card & Envelope:
1)
Cut all your cardstock and DP pieces, as well as your
ribbon.
2)
Stamp the background of the Old Olive card piece using the
"Sanded" background stamp. (This is best done by setting the
stamp wood side down and rubber side up on the table in front of
you, pat the stamp pad all over it thoroughly inking it up, then
place your card (folded) face down on the stamp, holding on to one
side and pressing with your fingers over every square inch of the
other side; then reversing and thoroughly pressing down on every bit
of the other side, holding it steady with your other hand. (We
have done this numerous times at class, so this is the same thing;
not anything different, in case it sounds like it is.) Because
"Sanded" is not as wide as your cardstock, you will need to make
your seam in the least conspicuous place ~ which is under the brown
ribbon. So plan ~ and stamp ~ accordingly.

3) Set
both of your white cardstock pieces side by side in front of you on
your workspace. Using Watercolor Wonder crayons, color the
tall narrow flower on the stamp. Hold a spray bottle about a
foot away from the stamp (and away from the table and
anything you don't want to get wet!) and lightly spray the stamp.
Stamp your first impression immediately onto the tall white piece,
and then immediately after stamp the second impression onto the
right side of the other shorter wider piece, as shown above.
Note: There is no one right way to do this; these are just
directions for making what you see in this picture.
4) Next ink up the other
two flowers on the stamp, as in 3, (stamping off one of the flowers
in the lower left corner), and complete the shorter wider
multiple-flower piece. You could even stamp off onto the
envelope (5-1/2" square) at the same time you stamp off that
lower-left corner flower; just position the envelope right next to
the wide white piece, arranging them so that one flower stamps onto
the envelope, and one onto that lower left corner of the white card
piece.
THE TIE:
Tie the ribbon as directed in the tutorial on
this web page, doing it to one side since, as you can see in the
picture, the tie is not centered. There are actually two ways to do this
(both are on that same page). The first is the one I used
here, but either works!
Put the rest of the card together as
shown in the picture!
|

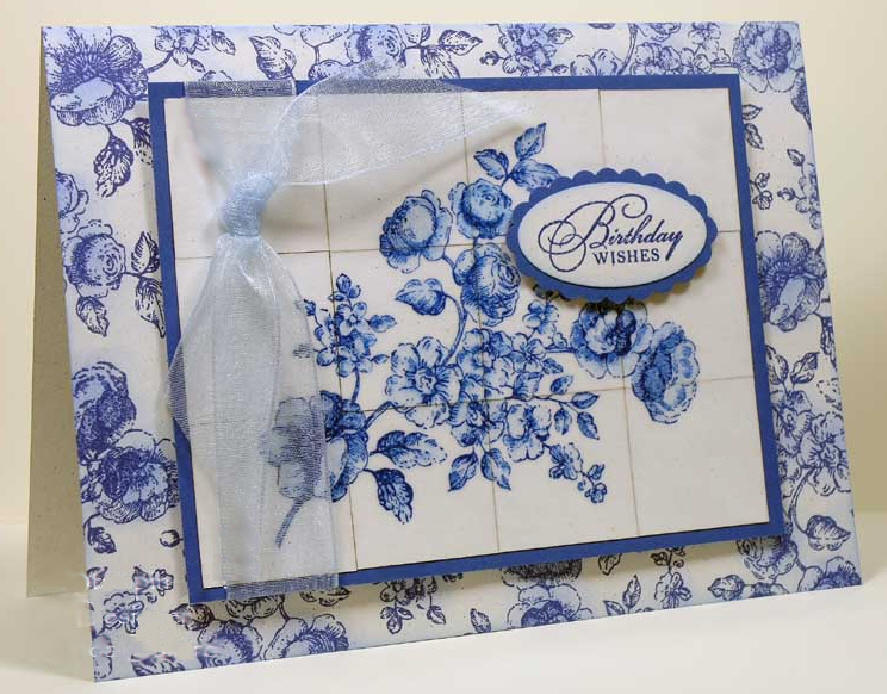
"BLUE DELFTWARE"
CARD

This
card was created by Linda Bullard
who is an
amaaaazing artist!!!!! Take a look at
her
gallery on Splitcoast Stampers!
Here's
the same card,
but, by
the magic of photoshopping, without any
gem brads
in the four corners:
(just so you can see how
it would look without them)

And
here's yet another way to do it, with just
one
gem brad in the lower right corner:

I like
all three versions; choose your favorite!
In case you are not
familiar with Delftware,
it's a style of art,
particularly for dishes, originating
in Holland! Here
are a few samples that
I collected from the
Internet:


.jpg)


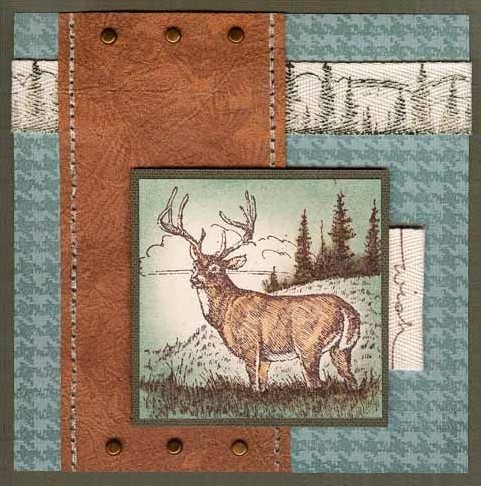
NOBLE
DEER
CARD
ON
HOUNDSTOOTH
WITH
FAUX
SUEDE

This card
is absolutely stunning,
and is
also by Linda Bullard!!!!

Supplies to Bring
to each class:
 Paper cutter Paper cutter
 Snail adhesive
(for those Snail adhesive
(for those
who prefer that over glue sticks)
 Reading
(or
close-work)
glasses! Reading
(or
close-work)
glasses!
(A little tip... I
normally wear
2.50–2.75
reading glasses, but for
closer, more-detailed work
like this, I got a pair of
3.00's and LOVE 'em!)
 Small sharp scissors Small sharp scissors
(which Stampin' Up calls "Paper Snips")


|


.jpg)


